Image: the Random Thought Project on YouTube
The Random Thought Project recently published a guide on replacing the air filters in a Tesla Model 3 or Tesla Model Y, which is pretty easy to do on your own and doesn’t necessarily require a visit to a Tesla service center.
Like pretty much all air-conditioned cars ever, Tesla’s electric vehicles (EVs) are equipped with cabin air filters to purify the air being circulated through the car by the Air Conditioning (AC) system.
The latest Model Y comes with medical-grade High Efficiency Particulate Air (HEPA) filters, which are more effective and easier to replace.
The Model 3 comes with regular air filters that can prevent “pollen, industrial fallout, road dust and other particles from entering the cabin through the vents.”
You should ideally replace your cabin air filters every 15,000-30,000 miles (24,000-48,000 km), or sooner if you start noticing the quality or odor of the air in your car’s cabin degrading. Tesla says to replace cabin air filters every two years.
To replace the air filters (or HEPA filters) in your Tesla Model 3 or Model Y, all you need is 45 minutes and:
- T20 wrench (Model 3) or 1/4″ hex wrench (Model Y)
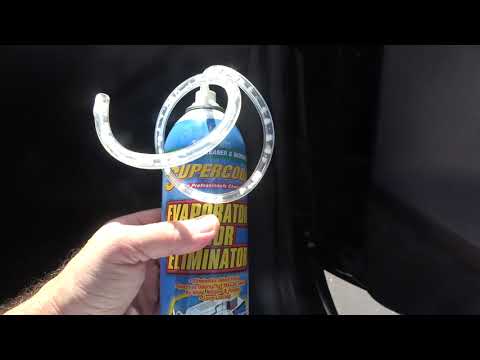
- Lubegard 96030 Kool-It Evaporator and Heater Foam Cleaner (or any other evaporator/condenser odor eliminator)
- XTechnor Tesla Model 3/Model Y Air Filters (or any other brand of aftermarket air filters or HEPA filters for the Model 3/Y).
Next, it’s just a matter of prying off the right trim panels to access your vehicle’s cabin air filters, taking them out, cleaning the evaporator/condenser unit, installing the replacement filters, and putting everything back together, as seen in the video above. Good luck!