How to Set Up Tesla Multi-Factor Authentication [VIDEO]

Tesla rolled out its much-anticipated multi-factor authentication (MFA) yesterday, adding another layer of security to customer accounts.
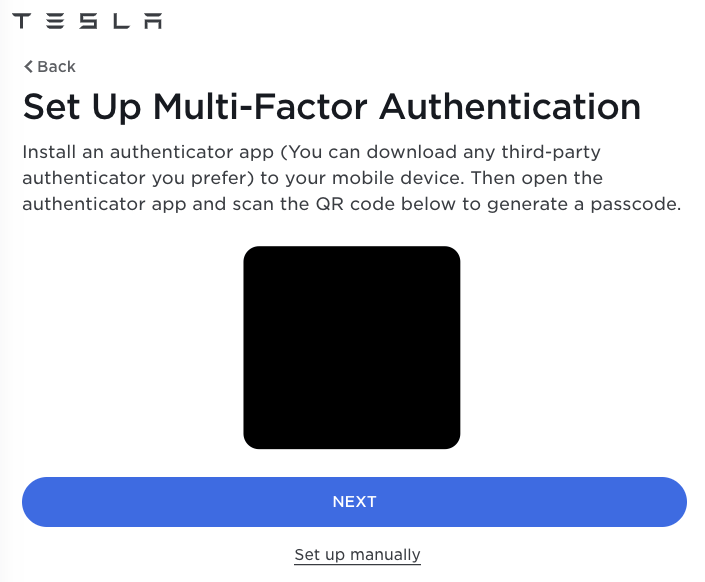
If you are new to MFA and want to learn how to set up your Tesla account, the following video tutorial from YouTube channel ‘Tesla In The Gong’ holds your hand every single step of the way, using the Authenticator and Authy apps.
How to set up your Tesla account with multi-factor authentication

Once you have everything set up, Tesla will send you a confirmation email saying you have enabled multi-factor authentication. “Multi-factor authentication has been enabled. You will need to enter a passcode from your authenticator app each time you sign in,” says Tesla’s email.
Other password manager apps such as 1Password have built-in authenticators, allowing you to easily grab your generated one-time use codes, right next to your logins, so it’s really convenient.
When you set up new iOS or Android devices and restore 1Password, your MFA or 2FA codes remain in place so you don’t need to set them up all over again, plus you also have somewhere to store your backup passcodes.

