How to Set Tesla Custom Lock Sounds on USB Stick

Tesla’s latest 2023 holiday software update allows custom lock sounds. If you want to learn how to add a Tesla custom lock sound it’s really easy to do.
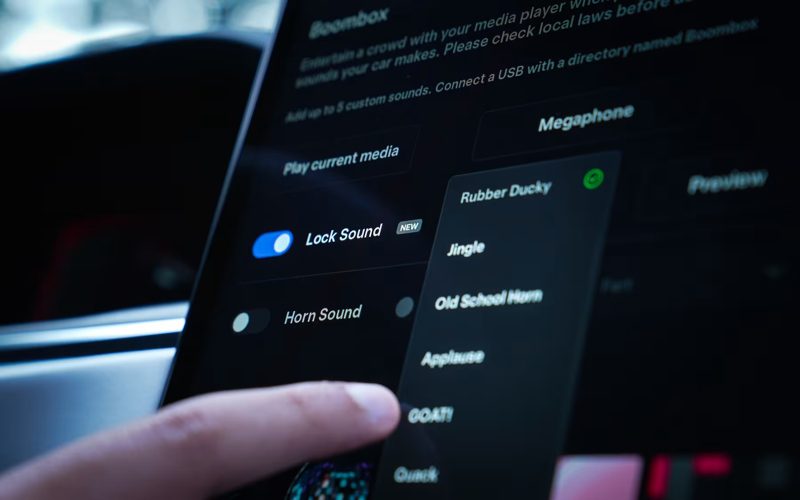
A custom lock sound replaces the default horn sound when your Tesla locks its doors. You can pick from a list of sounds from Tesla (such as a screaming goat, far, old school horn, applause, quack and more) or set your own custom sound.
To set a custom lock sound, you’ll need to add a .wav file into the root directory of the USB thumb drive in your glovebox (this is the USB stick that Sentry Mode saves clips to). Let’s get into the steps…
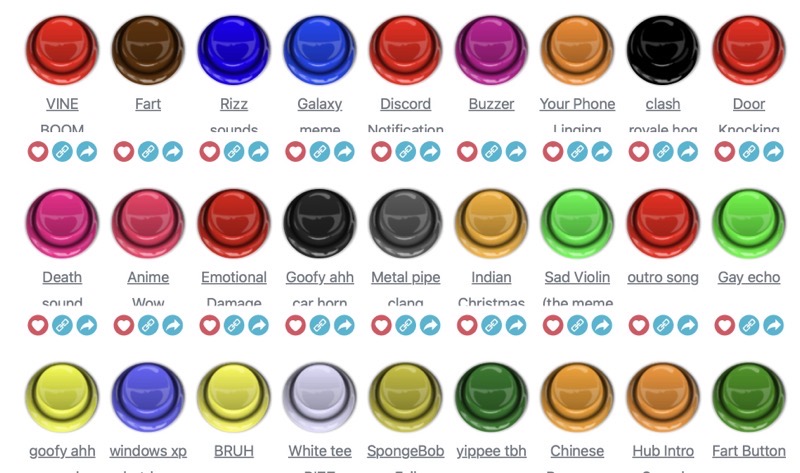
Step 1: Visit a site such as MyInstants to find a custom sound that you want to use in your Tesla. Download the .mp3 file and rename it to LockChime.wav (the file must be less than 1 megabyte).

Step 2. On your computer, drag the renamed LockChime.wav file into to the root directory of your USB stick. This means just the main directory of your USB stick. You don’t need to create a folder such as Boombox or anything.
Step 3. Plug the USB stick back into your car’s glovebox, then head to Toybox > Boombox > Lock Sound and then select USB from the drop down menu.
Some of our favorite locking sounds include the Windows XP shutdown sound, any iPhone ringtone or Mac launch sound and more. There are endless possibilities from MyInstants so go check out their directory!
Now, when you lock your Tesla, your custom sound you’ve downloaded should play. Time to impress your friends and family!

