How to Protect your Tesla for Renting on Turo
Rental cars are some of the most abused cars on the road, and we’d like to think renters, including those on Turo would be more careful, but that’s not always the case. What to do if you’re going to rent out your Tesla on Turo and want to keep it protected? Hit up TesBros for their various paint protection film (PPF) kits for all Tesla vehicles.
In our case, TesBros sent us a variety of PPF kits for our Model 3 Standard Range that we are expecting to Turo soon. Check out the must-have PPF kits you need to keep your precious Tesla protected on Turo.
Interior Kicker Panels
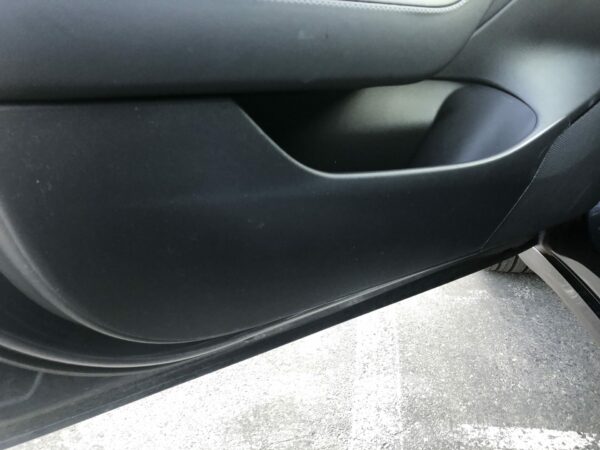
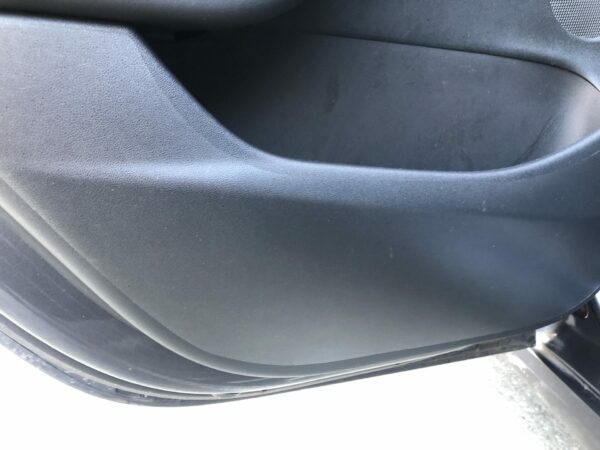
The front door kicker panels are easier to install than the rear ones. The rear door kick panels have a slight curve that makes installation harder and requires more time. We installed the two front door kick panel PPFs in about 15 minutes, and the two rear took roughly 45 minutes.
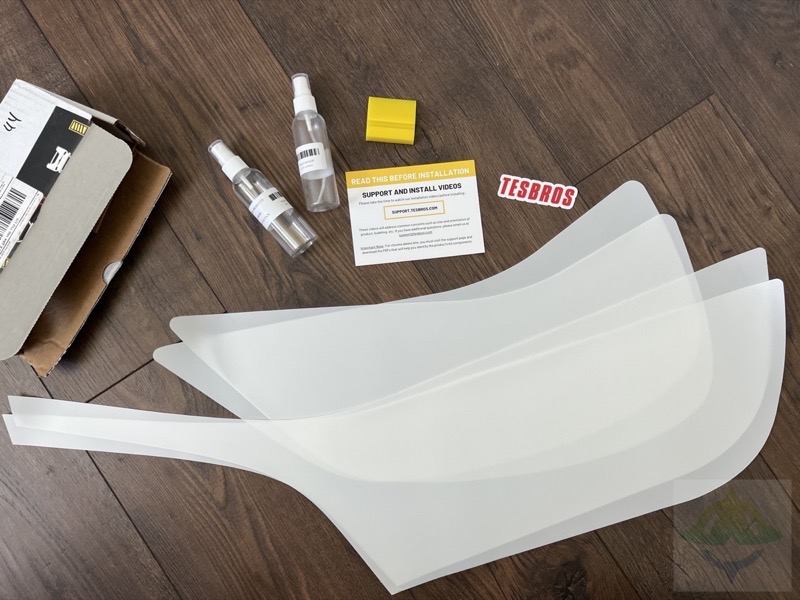
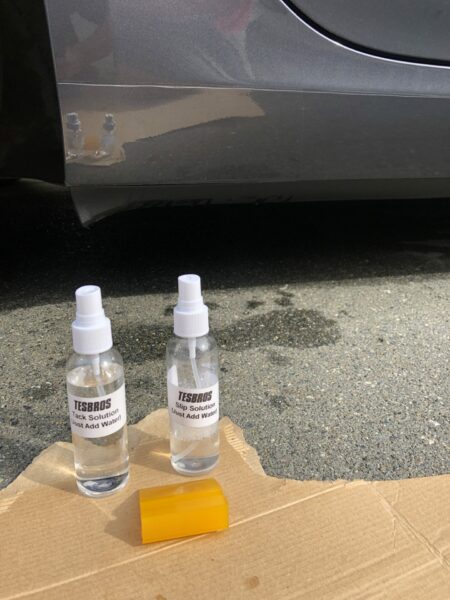
Inside the TesBros PPF kit are two empty spray bottles and a squeegee, plus a link to video instructions. It’s really simple to follow along that even I was able to get this done quite easily.
Once installed, it looks spotty, but that’s the solution under the PPF that takes about a day to dry out. Once dried out, you can barely notice it as the bubbles disappear.
Front Door Kicker Panels for Model 3
Rear Door Kicker Panels for Model 3
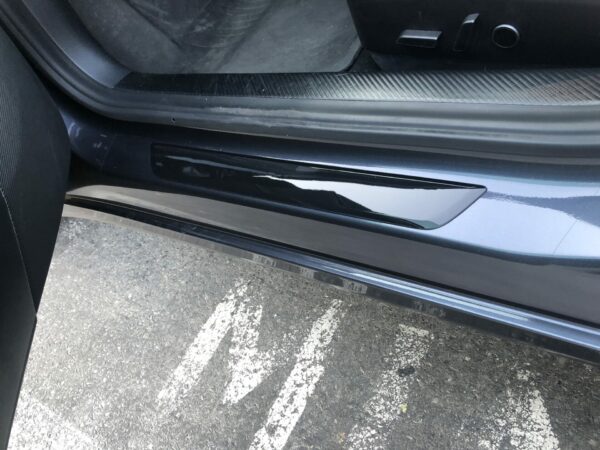
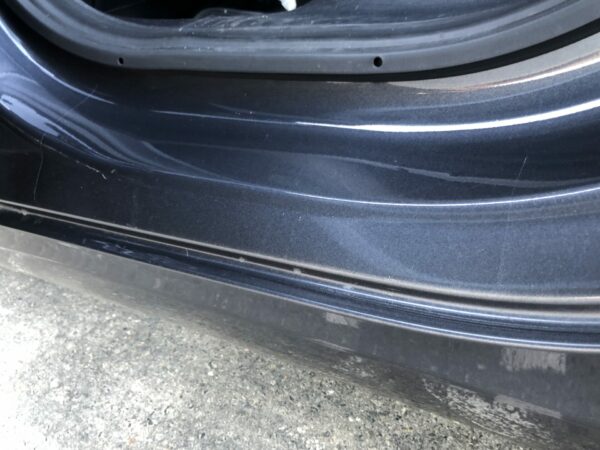
Door Sills
The doorsills are a high-traffic area, so we applied PPF to the doorsill and the Model 3 decals. Installation for all four doorsills and the Model 3 decals in the front was a breeze and took about 30 minutes. The PPF dried quickly and is hard to notice unless you’re specifically looking for it. If you have kids as I do, protecting your door sills with PPF is a must-have. Your Turo renters will likely have little kiddos as well, so it’s best to keep this area protected.
Door Sill Area Protection PPF for Model 3 (Front)
Door Sill Area Protection PPF for Model 3 (Rear)
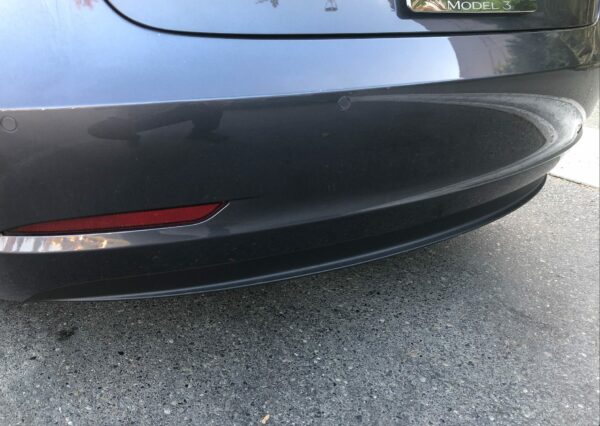
Rear Bumper
The trunk is another high-traffic area, and it only makes sense to install PPF to provide that area with some protection. With luggage and bags coming in and out of the trunk, you need to keep this area protected from scratches.
TesBros includes a pair of stickers to ensure that the PPF film is lined up properly. Installation was a breeze and took about 25 minutes from start to finish. It’s nearly impossible to see the film once installed. Really liked this install!
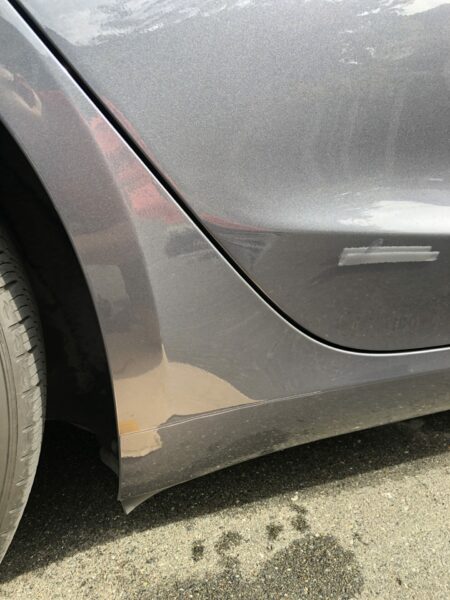
Rocker Panels
Putting PPF on the rocker panels just seems like an obvious thing to do. Heck, even Tesla sells their own PPF rocker panel kits. The TesBros Mini Rocker Protection PPF for Model 3 comes in two pieces: a rectangular piece for the bottom under the bend and a wing-shaped piece that fits between the edge of the door and the wheel well.
Installation was a breeze and was completed in about 25 minutes. There was a bit of a gap between the two pieces, and the bottom edge of the rectangle did have some issues sticking to the underside initially. We did get to stick after using more tack spray, and we’ll see how holds up through the rainy winter.
Door Handle Protection
Can’t get into a car without a door handle which automatically makes this one of the highest traffic areas for any vehicle. We went ahead and applied the Door Handle Protection PPF for Model 3 which took around 5 minutes per handle, for a total of 20 minutes. The TesBros cutout was perfect and once installed, you can’t even see it.
You do feel a bit of the PPF with the edges being a bit sharper than the usual smoothness of the handle.
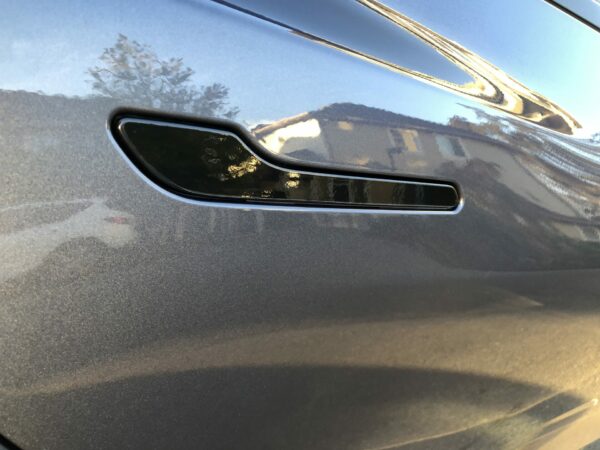
Door Handle Area
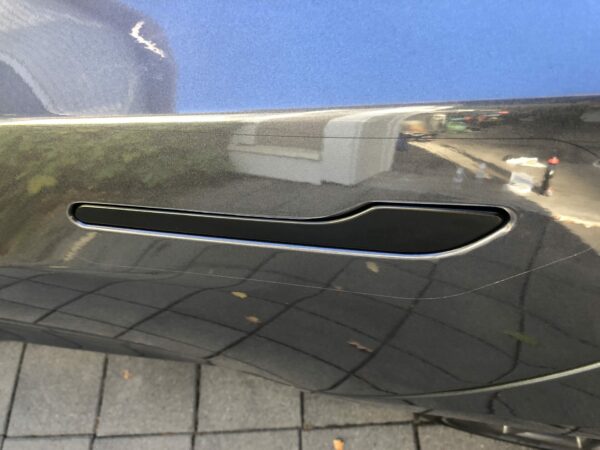
We also tried the Door Handle Area Protection PPF just to round out the coverage in that area. Installation took about 30 minutes for all four and was pretty easy. The cutout for the door handle unfortunately wasn’t perfect; there was some film overlap into the gaps for the door handle. We were unable to line it up, and we imagine that over time this will be PPF that we’ll end up removing, due to eventually dirt getting in under the PPF film.
But in the meantime, this protection will save your Model 3’s paint from any jewellery, watches, or other objects that could scratch when opening the door.
Final Words of Advice
TesBros includes a bottle of soapy solution with all their kits while some of them also include a tack spray. Along with that, they include a squeegee to properly install the PPF. We highly recommend reviewing the videos on their website before any installation. There’s nothing worse than having peeled PPF and wondering what the next step is.
We also followed their advice on properly preparing the car with a thorough wash and clay bar if you’re able to. We did our PPF installation outside, and if you have access to a garage, we’d recommend doing the installation there since there should be fewer contaminants to get in the way.
Click here to buy PPF kits for your Tesla from TesBros and save 10% off.
We’d like to thank our affiliate partner TesBros for supplying these PPF films for review and our readers for supporting our mission for delivering the latest Tesla and EV news.
